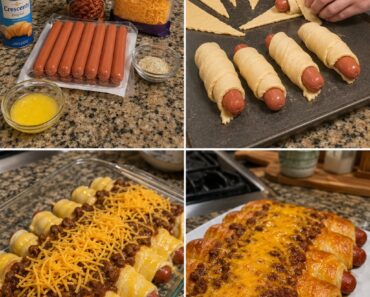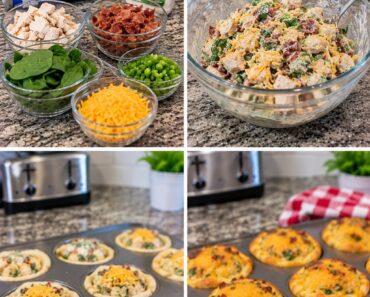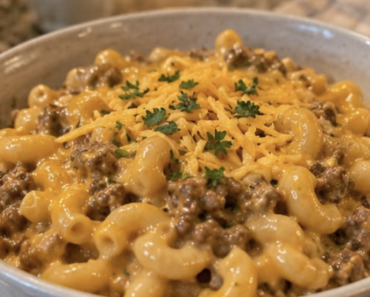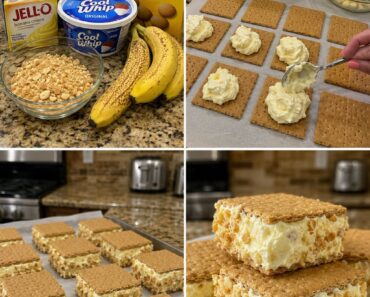
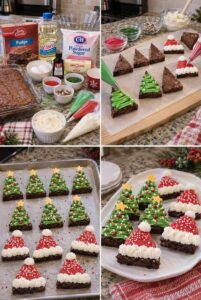
Mini Christmas Tree Brownies and Santa Hat Brownies
Turn a pan of fudgy brownies into two festive Christmas treats: decorated mini trees and Santa hats. Green frosting, red frosting, sprinkles, and little star toppers transform simple brownie triangles into a cheerful dessert platter that’s fun to make with family.
Using a boxed brownie mix keeps the preparation easy, while a quick homemade buttercream gives you frosting that pipes neatly. Make both designs from one batch, or decorate every brownie the same way.
Prep Time: 30 minutes
Bake Time: 25–35 minutes, depending on the brownie mix
Cooling and Decorating Time: About 1 hour
Total Time: About 2 hours
Servings: 12–16 brownie treats
Why You’ll Love This Recipe
- One pan of brownies makes two different Christmas designs
- Boxed brownie mix keeps the recipe simple and budget-friendly
- The decorating is easy to customize with frosting and sprinkles
- A fun holiday baking project for kids and adults
- The brownies can be baked ahead and decorated later
Ingredients
For the brownies
- 1 box fudge brownie mix, about 18–20 ounces
- Eggs, oil, and water as directed on the brownie mix package
- Nonstick cooking spray or parchment paper
For the buttercream frosting
- ½ cup unsalted butter, softened
- 2 cups powdered sugar
- 1–2 tablespoons milk or cream
- 1 teaspoon vanilla extract
- Green gel food coloring
- Red gel food coloring
For decorating
- Red, green, and white Christmas sprinkles
- Small star-shaped candies or yellow fondant stars
- Extra white frosting for the Santa hat trim and pom-poms
How to Make Mini Christmas Tree and Santa Hat Brownies
Step 1: Prepare the Brownie Pan
Preheat the oven to the temperature listed on the brownie mix package. Lightly grease an 8-inch or 9-inch square baking pan, or line it with parchment paper, leaving a little overhang on two sides for easy removal.
Prepare the brownie batter according to the package directions. For especially sturdy pieces that are easy to cut and decorate, avoid underbaking.
Step 2: Bake the Brownies
Spread the batter evenly in the prepared pan. Bake according to the package directions, checking for doneness near the lower end of the suggested baking time.
The brownies are ready when a toothpick inserted near the center comes out with a few moist crumbs but no wet batter. Let them cool completely in the pan. For cleaner cuts, chill the cooled brownies in the refrigerator for 30–45 minutes.
Step 3: Make the Frosting
Beat the softened butter in a mixing bowl until smooth and creamy. Add the powdered sugar gradually, mixing on low speed at first. Add the vanilla and 1 tablespoon of milk or cream, then beat until fluffy.
If the frosting is too stiff to pipe, add more milk a teaspoon at a time. If it becomes too soft, mix in a little more powdered sugar.
Divide the frosting into three portions. Tint one portion green and another red, leaving the remaining frosting white. Transfer each color to a piping bag fitted with a small round or star tip. A resealable bag with a small corner snipped off works too.
Step 4: Cut the Brownies
Lift the cooled brownie slab from the pan and place it on a cutting board. Cut it into small squares, then cut each square diagonally to make triangles.
The triangles will become Christmas trees and Santa hats. If you want slightly larger treats, cut the brownies into rectangles and trim the top corners to create triangular shapes. Wipe the knife clean between cuts for neater edges.
Step 5: Decorate the Christmas Trees
Place half of the brownie triangles on a parchment-lined tray with the points facing up. Pipe green frosting back and forth across each triangle, working from the top toward the bottom to create a tree shape.
Add Christmas sprinkles as ornaments while the frosting is still soft. Place a small star candy at the top of each tree. Let the frosting set before arranging the brownies on a serving plate.
Step 6: Decorate the Santa Hats
Place the remaining brownie triangles point-side up. Pipe red frosting over the upper portion of each triangle, leaving room at the base for a white brim.
Pipe a thick white frosting band across the bottom edge. Add a small white frosting pom-pom at the tip of each hat, then finish with white sprinkles if desired.
Step 7: Let the Frosting Set and Serve
Let the decorated brownies sit at room temperature for about 20–30 minutes, or until the frosting feels firm enough to handle. Arrange the trees and Santa hats together on a platter and serve.
Tips for the Best Brownie Decorations
- Cool the brownies completely before cutting. Warm brownies can crumble and make decorating difficult.
- Chill the pan before slicing. Cold brownies are easier to cut into sharp triangles.
- Use gel food coloring. It gives the frosting bold colors without making it watery.
- Decorate over parchment. It catches stray sprinkles and makes cleanup easier.
- Add sprinkles right away. They stick best before the frosting crusts.
- Use a small piping tip. It gives you better control over the tree branches, hat brim, and pom-poms.
- Keep the shapes simple. The festive colors and sprinkles make the brownies recognizable without detailed decorating.
Easy Variations
Use Store-Bought Frosting
Use prepared vanilla frosting to save time. Divide it into portions, tint them green and red, and leave some white for the Santa hat trim.
Make Chocolate Trees
Use chocolate frosting for the trees, then decorate them with colorful candy or sprinkles. They’ll look like chocolate-covered Christmas trees.
Add Candy Ornaments
Press mini candies or candy-coated chocolates into the green frosting to decorate the trees. Add them before the frosting sets.
Make a Single Design
Decorate all the brownie triangles as trees or all as Santa hats. This works well when you want a consistent look for a party platter.
Add Brownie “Tree Trunks”
Cut small rectangles from extra brownie scraps and place one at the base of each tree. Attach them with a small dab of frosting.
Make-Ahead and Storage
Bake the brownies up to 2 days ahead. Once cooled, keep them covered at room temperature, then cut and decorate them closer to serving time.
Store decorated brownies in a single layer in an airtight container. They can be kept at room temperature for up to 2 days, or refrigerated for up to 5 days. If refrigerated, let them sit at room temperature briefly before serving for a softer brownie texture.
To freeze, freeze the undecorated brownies tightly wrapped for up to 2 months. Thaw them completely before cutting and decorating. Frosted brownies can also be frozen, but the decorations may look less crisp after thawing.
Frequently Asked Questions
Can I use homemade brownie batter?
Yes. Use your favorite brownie recipe, preferably one that bakes into a firm, fudgy slab. Let it cool completely before cutting and decorating.
How do I stop the brownies from crumbling?
Cool them fully and chill them before cutting. Use a sharp knife, and clean the blade between cuts. If the brownies are very soft, refrigerate them a little longer.
Can I decorate the brownies the day before serving?
Yes. Store them in a covered container after the frosting has set. Keep them in a cool place, or refrigerate them if your kitchen is warm.
What can I use instead of piping bags?
Use resealable plastic bags. Spoon the frosting into each bag, press it toward one corner, and snip off a small opening. Cut a little at first; you can always make the opening larger.
Can I use candy stars if I can’t find star-shaped sprinkles?
Yes. Use yellow candies, small fondant stars, or cut star shapes from yellow fruit leather. You can also leave the trees without stars and use a large sprinkle at the top.
How do I make the frosting colors brighter?
Use gel food coloring and add it a little at a time until the frosting reaches your preferred shade. Gel colors are more concentrated than liquid food coloring.
Final Thoughts
These Mini Christmas Tree Brownies and Santa Hat Brownies turn an everyday brownie mix into a festive holiday dessert. With simple piping and colorful sprinkles, you can make a platter that looks special without complicated baking or decorating techniques. They’re a sweet addition to Christmas parties, cookie trays, and family baking days.